
This week, I was going through Course 1 on photoshop elements - I just wanted to catch those things that I missed in my self teaching of the program. And I was happily surprised right away when I learned a new way to recolor elements. Up until this point, I had been adding a new paper, clipping it, and using the overlay layer. Not incredible effective for a lot of element types. I also know how to use the Enhance:Adjust Color: Replace Color option, but again, it's not easy or effective on a lot of elements.
So in my class this week, I learned to use the Enhance: Adjust Color: Adjust Hue/Saturation feature. LOVE it! Here's an example:
We went on this fun hike through a local park that I wanted to scrap about. But you can see in this original picture that Josh, my youngest son, has on a very bright red shirt and it really didn't work well with the colors of the kit I wanted to use...
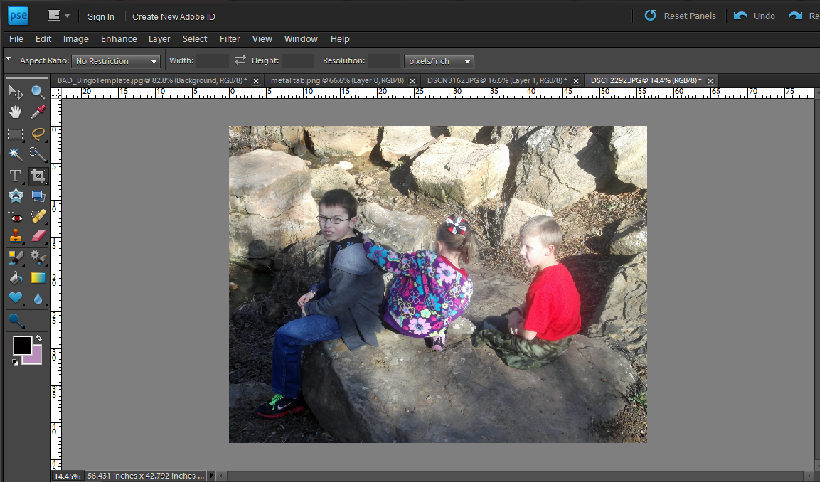
So I used my newly learned skills and adjusted the Saturation of his shirt...

Here's the scoop on the Hue/Saturation box...

Hue - Changes the color
Saturation - Changes the shade of the color
Lightness - Changes show dark or light the color is
If you just go into the box and start changing the sliders, it will change the entire picture/element. To change that, use the drop down box and select any of the colors (it doesn't matter which one unless you are specifically targeting a color).

Selecting a color from that pull down menu gives you the option to use the eye dropper. You can (while the box is still open) click on a specific color in your picture/element so any changes you make to the slider focuses only on that color. In my case, I clicked on Josh's shirt so that sliding the saturation slider only effected the colors of his shirt.
That's what I learned! It was a HUGE deal for me - it makes recoloring elements in a kit so simple. Go play with it and see what you can do!
Here's my final layout with this picture...
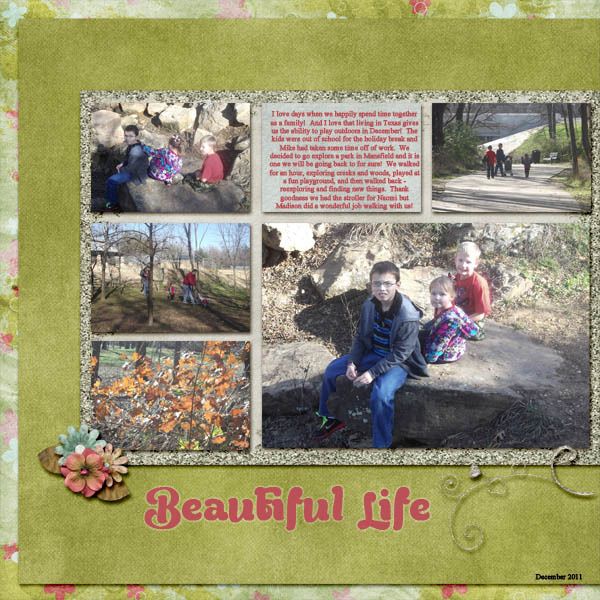
His shirt blends in so much better with the kit now. I used a new kit from IvoryKeys digital designs called Perfectly Precious that you can grab at With Love Studio.


Thanks for sharing this. I needed this for a page I did yesterday that had a bright colour in a photo that I would have liked softened as I think you can do the same as you have shown in Photoshop.
ReplyDelete